The iOS OTA APP User Manual provides comprehensive guidance on using the application to update Realtek devices, utilizing Bluetooth Low Energy connections to deliver software updates, configuration settings, and patches.
Prior to deploying the application, it is crucial to have an iPhone running iOS 11.0 or above, along with the latest upgrade files, to guarantee a smooth and successful update process.
To help users fully grasp the application's functionalities, this manual includes annotated figures for clarity, ensuring users can follow visual aids to complete each step effectively.
The Getting Started section provides an effective step-by-step guide, directing users on how to use this tool.
The FAQ section is a valuable resource for addressing common questions and troubleshooting potential issues.
This chapter instructs users on how to check the application version, adjust the upgrade settings, connect the device, select the upgrade file and confirm the upgrade result.
It details the stages of OTA to ensure a successful upgrade.
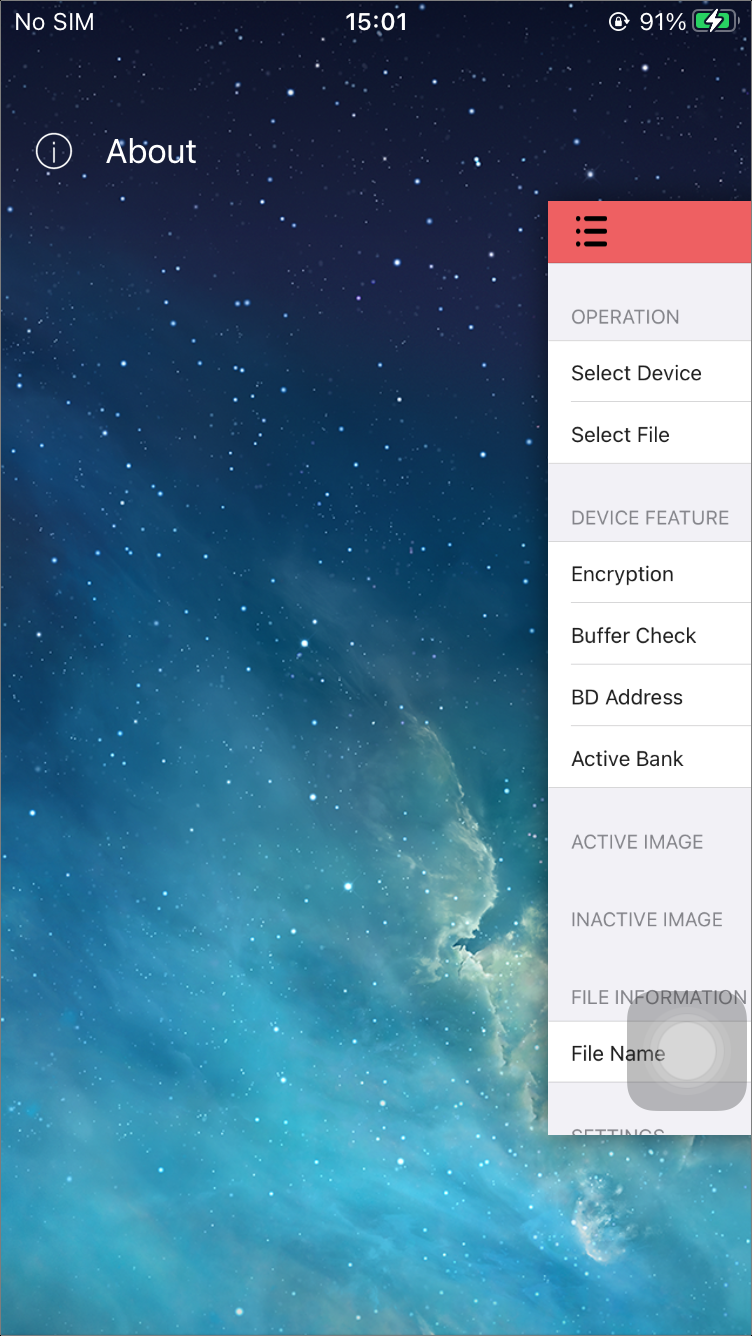
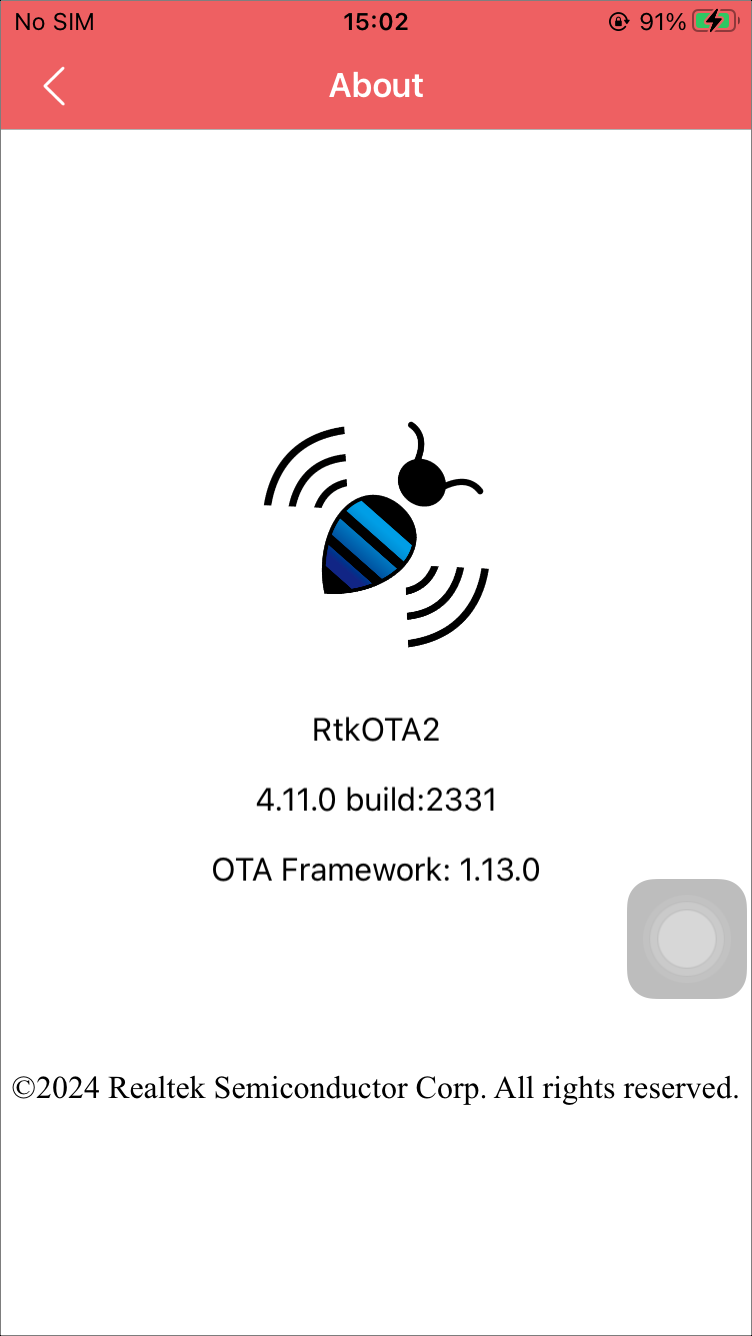
Clicking the button in the upper left corner will bring up the About option. Click it to check the current application version information, as shown in About Page and Version Info.
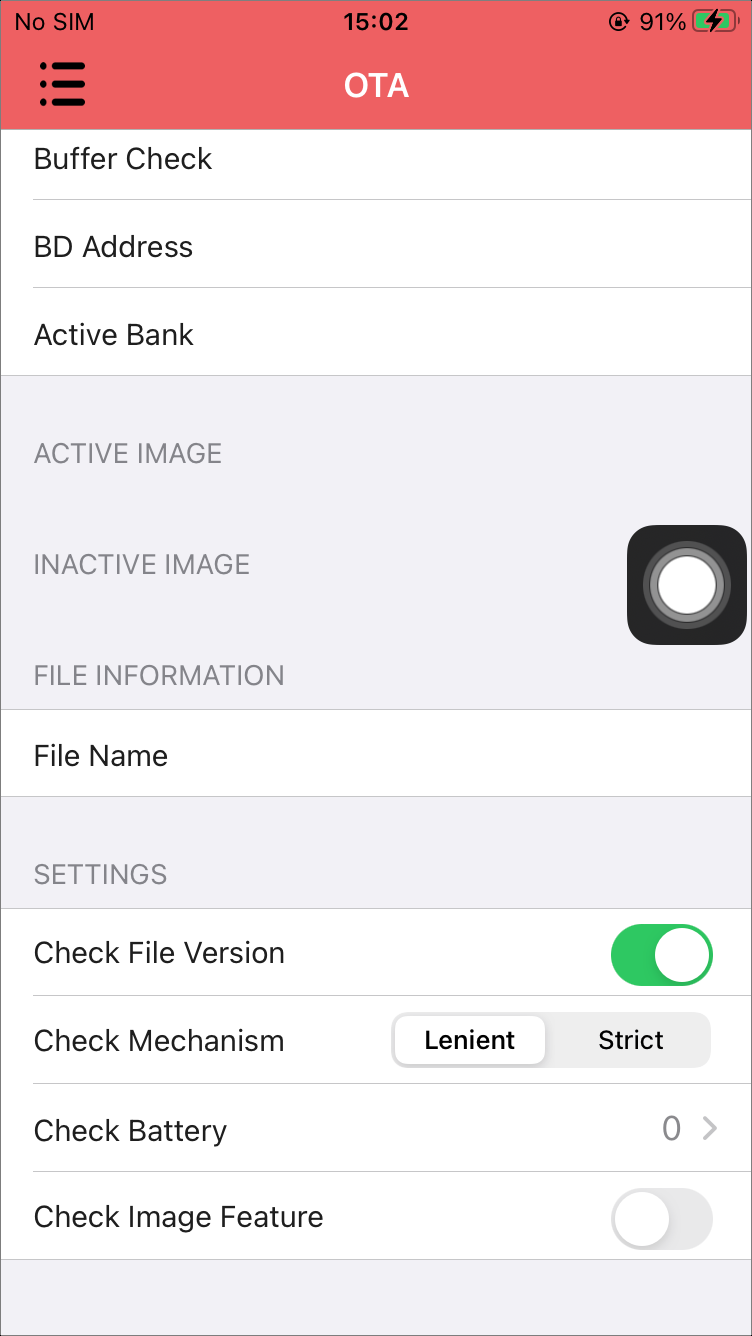
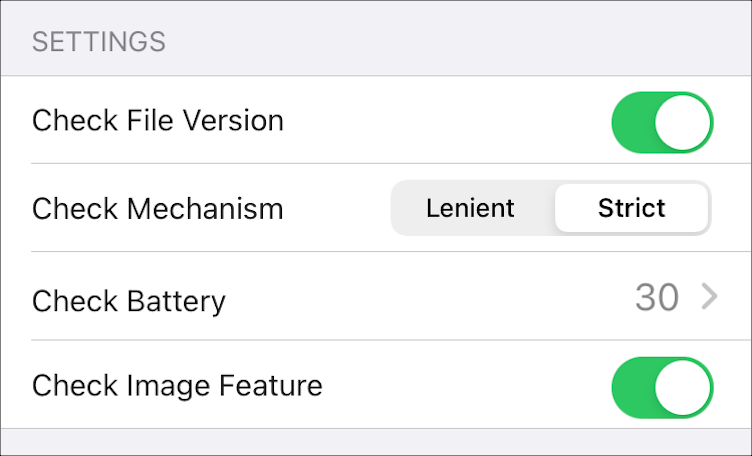
Check whether the upgrade file is newer than the current firmware. Whether the check is enabled or not, lower version files are not allowed.
Disabled: Do not verify the version, the application will send all images to the device. If the device is single bank, all images will take effect after OTA. If the device is dual bank and there is no image higher than the current images, the device will not switch the bank.
Enabled: The check mechanism can be configured. Strict will check each image, while lenient will stop checking as soon as it encounters a higher version image. Both strict and lenient check mechanisms can ensure the effectiveness of OTA. It is recommended to use the strict mechanism.
CheckBattery
Set battery check threshold. If the battery is less than the threshold, then cannot upgrade. The recommended threshold is thirty.
CheckImageFeature
Check whether the features of the upgrade file match the features of the firmware. If this function is enabled, a warning will appear for any feature inconsistencies, but the upgrade process will not be affected.
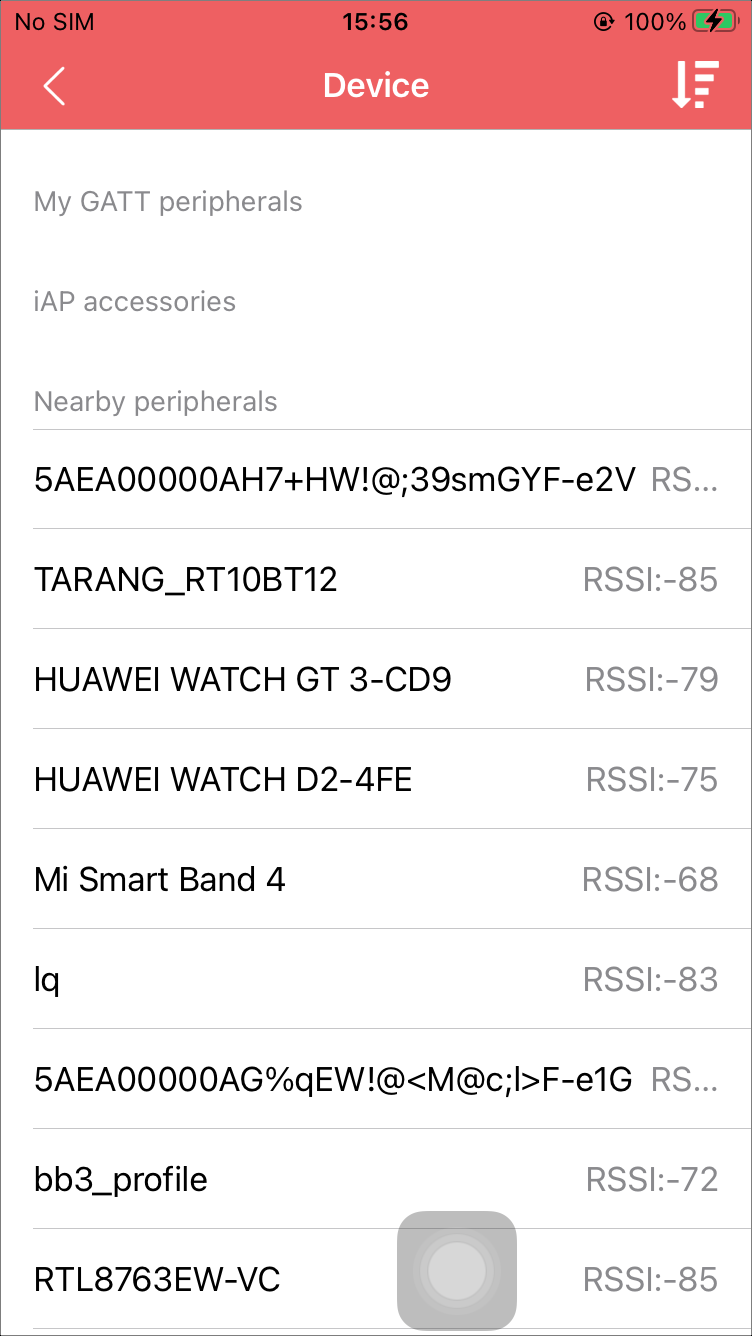
Click Select Device to enter the Device interface, which lists the names and RSSI of Bluetooth Low Energy devices that can be connected. Click the icon in the upper right corner to reorder the Nearbyperipherals list by RSSI, as shown in Search Devices.
MyGATTperipherals: Bluetooth Low Energy devices that are currently connected.
iAPaccessories: Devices connected to the phone that follow the com.rtk.datapath protocol.
Nearbyperipherals: Discovered Bluetooth Low Energy devices.
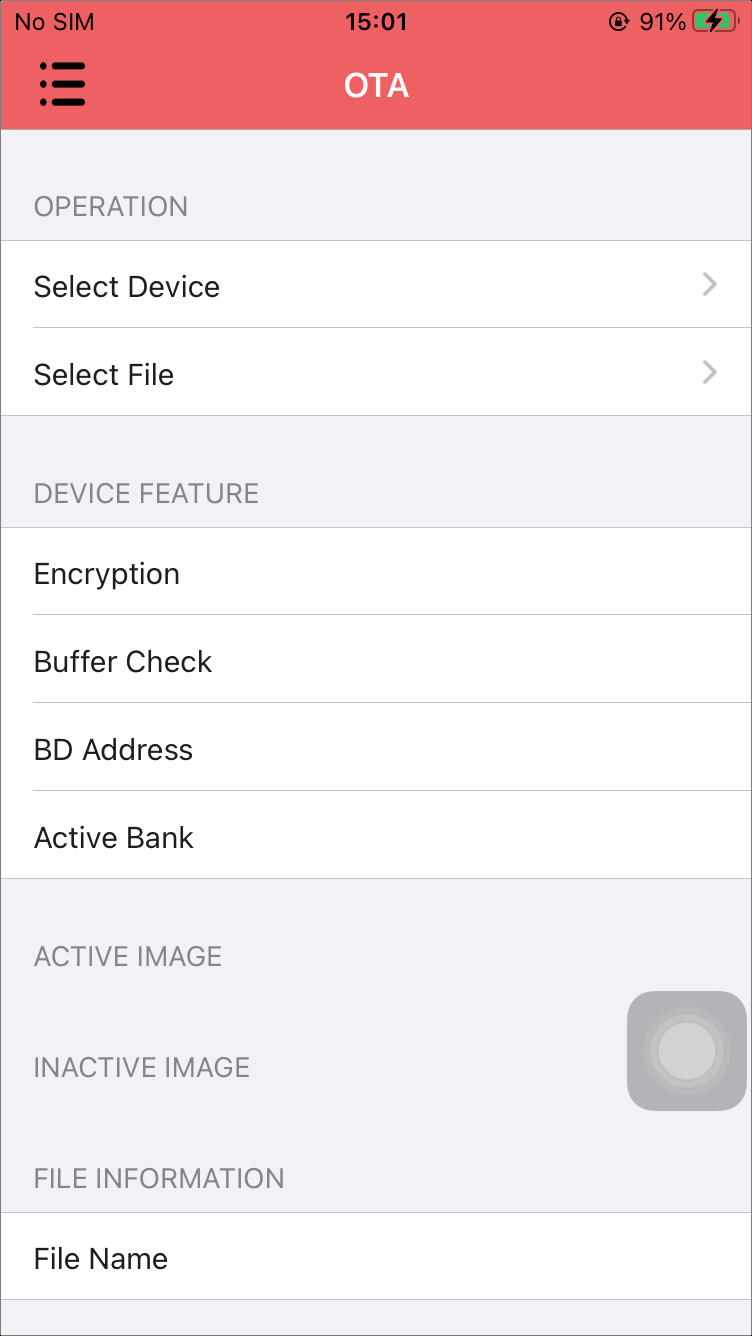
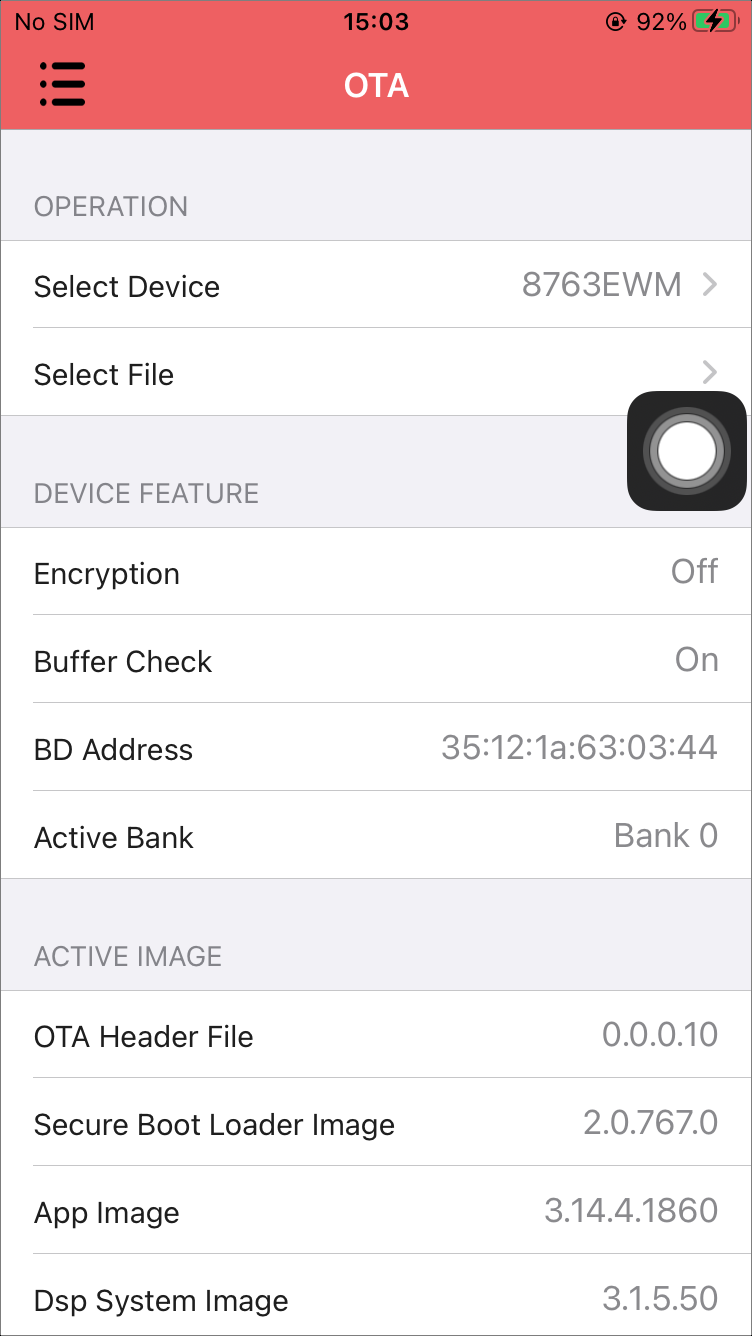
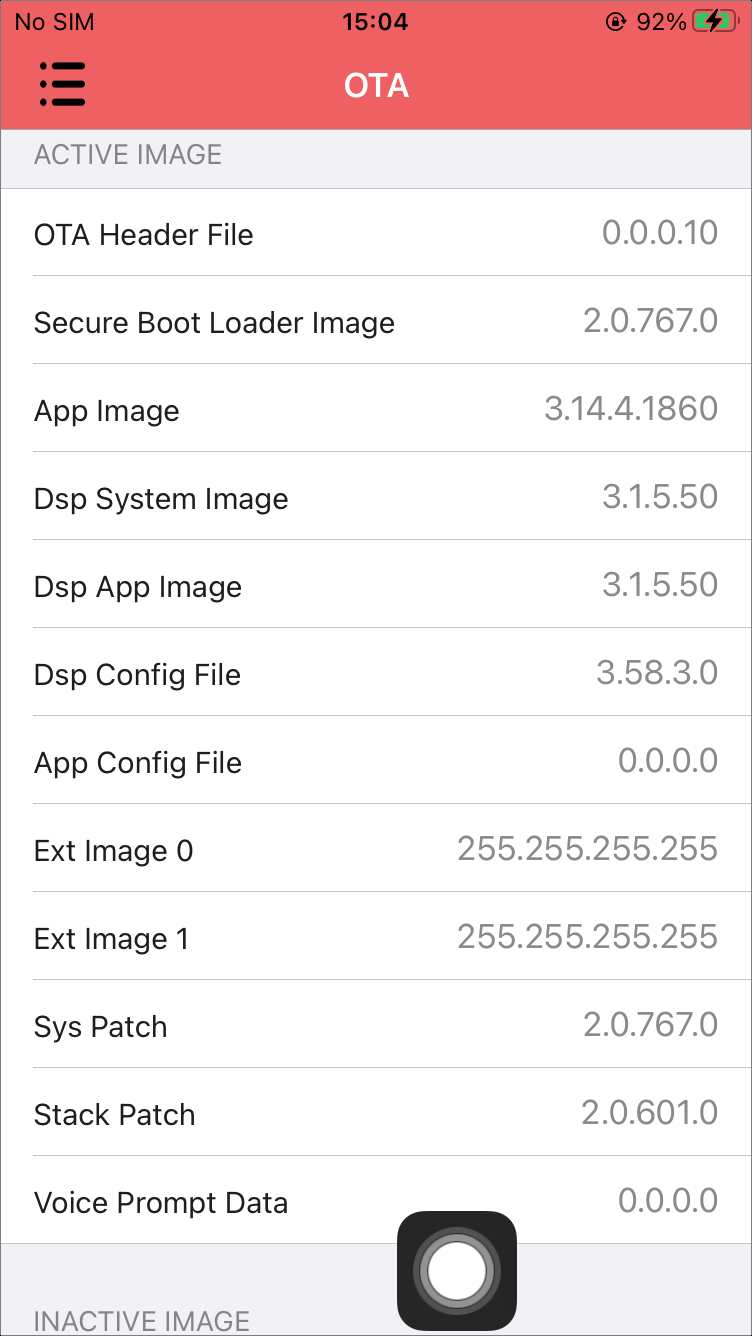
If the connection is successful, the DEVICENAME, DEVICEFEATURE and ACTIVE/INACTIVEIMAGE will be filled on the page, as shown in Connect Successfully.
DEVICEFEATURE: Refers to the characteristic or capability of the device. Here includes if encryption is supported, buffer check is supported, the device's Bluetooth address and valid bank information.
ACTIVE/INACTIVEIMAGE: If the active bank is single, there are no inactive images. If the active bank is Bank 0, the ACTIVEIMAGE section shows the image names and versions in Bank 0, while the INACTIVEIMAGE section shows the image names and versions in Bank 1, and vice versa.
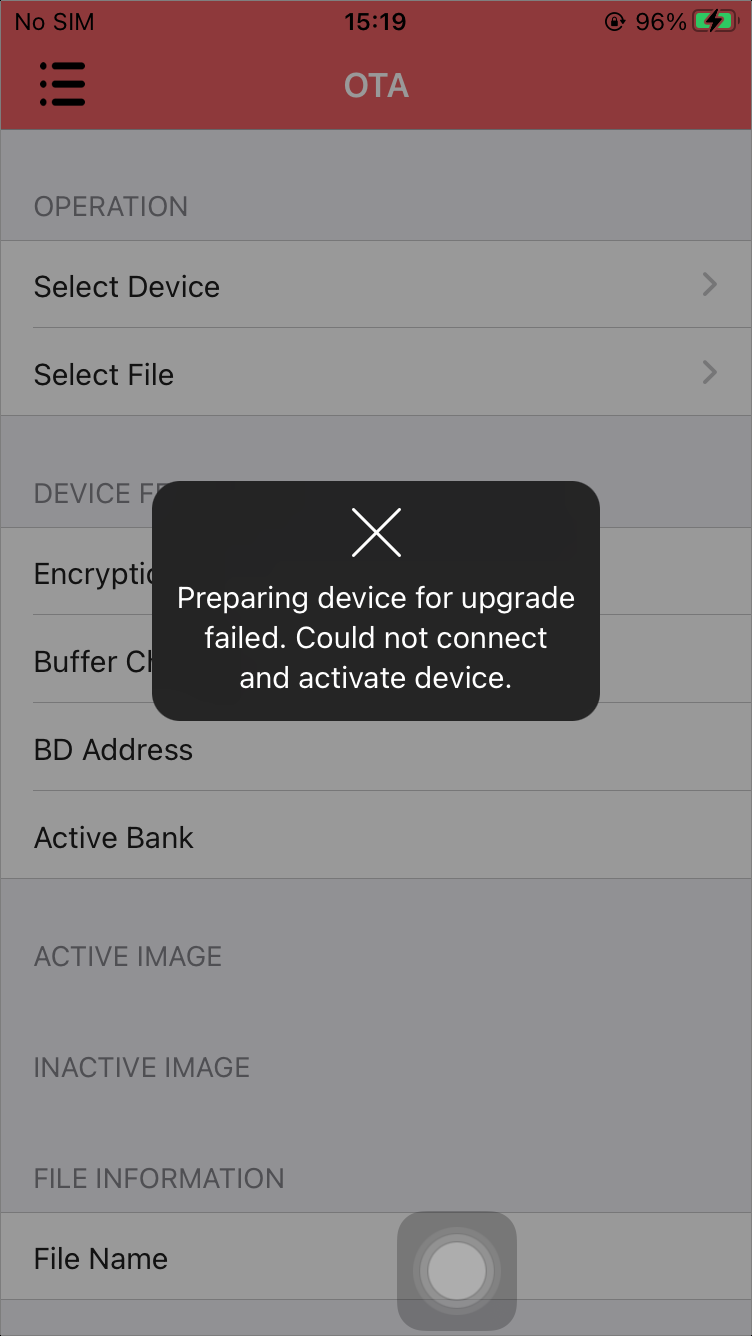
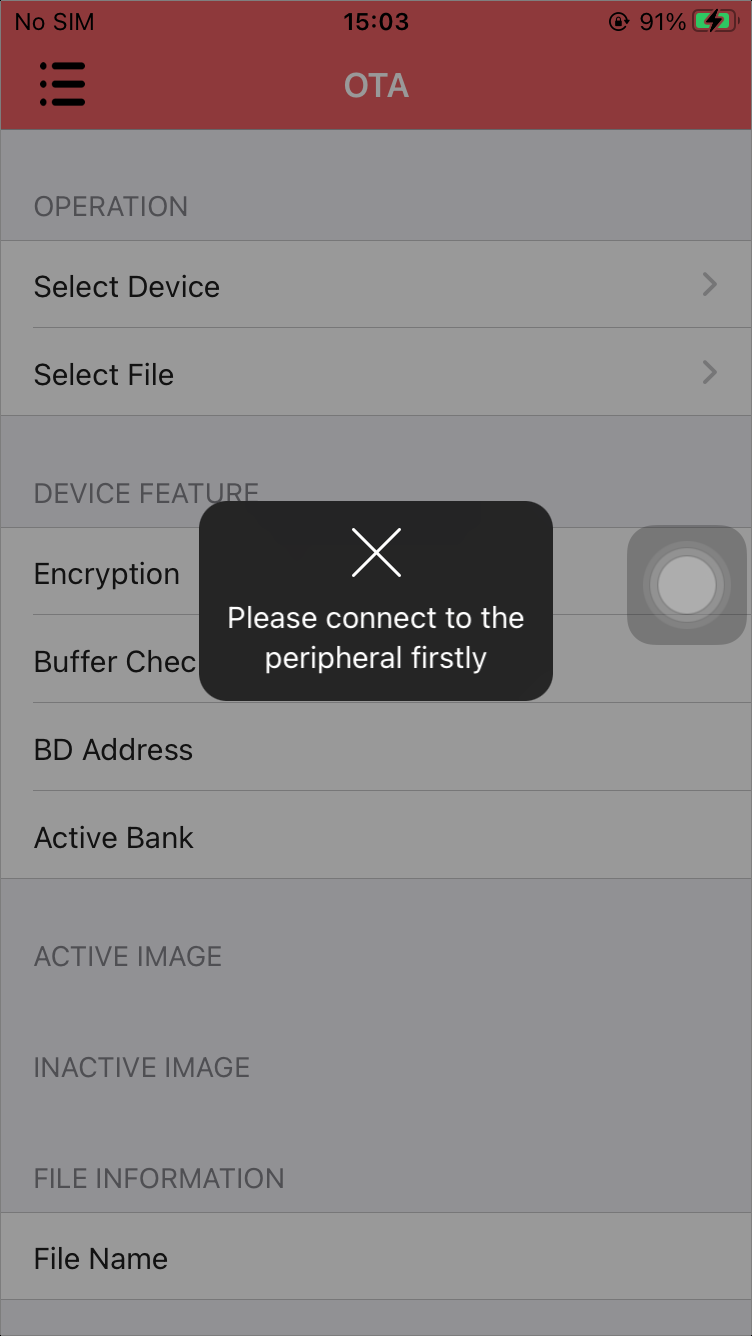
If the connection fails, the failure cause will be displayed, as shown in Fail to Connect. It is necessary to confirm whether the target device supports the OTA service and whether the device is connectable.
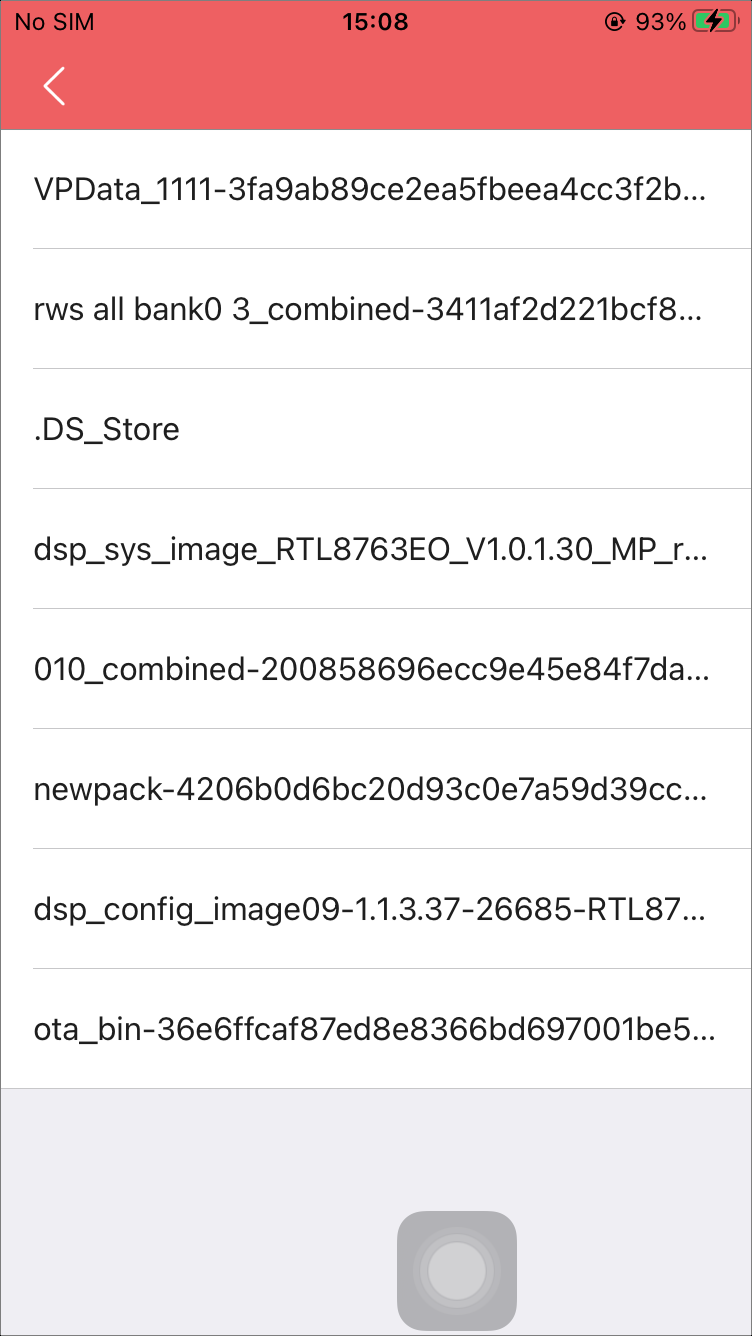
After selecting the target file, it will navigate back to the Home Page.
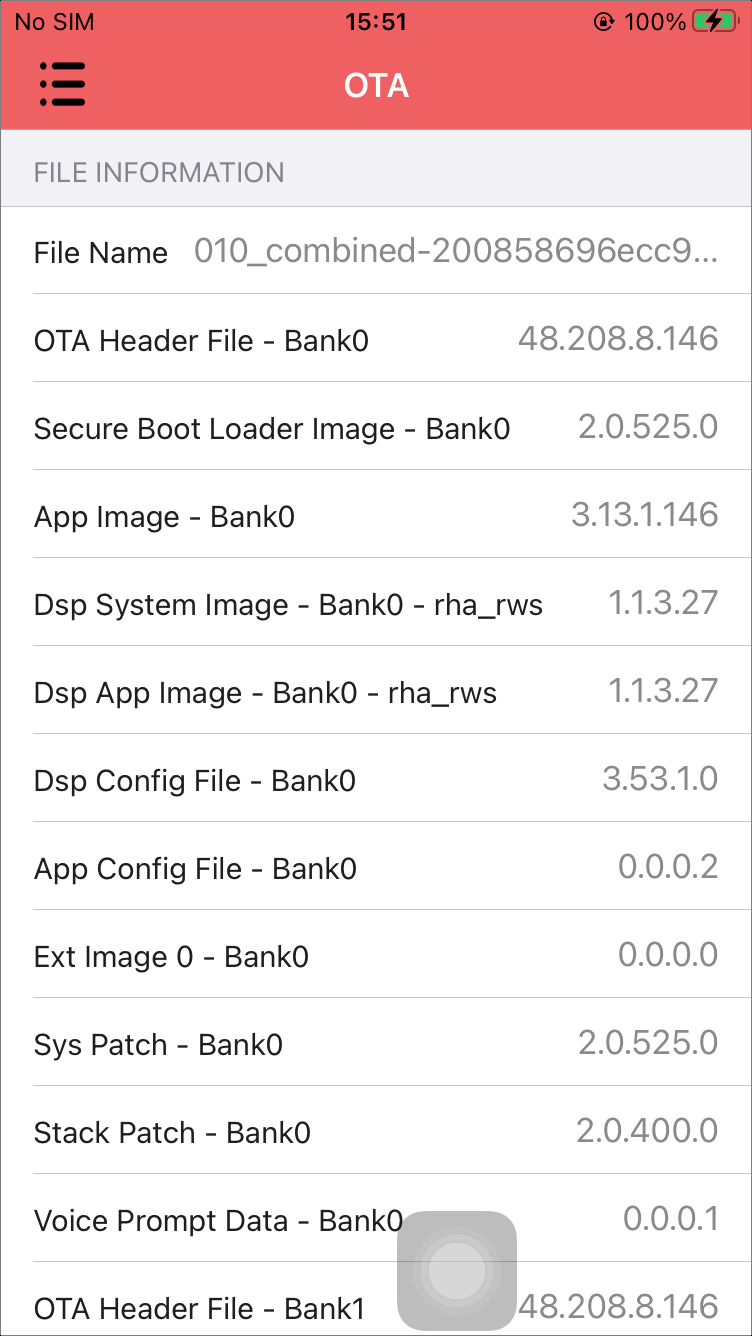
Correct File: Users can view the parsed file information, such as image names and versions, under the FILEINFORMATION section, as shown in The Correct File.
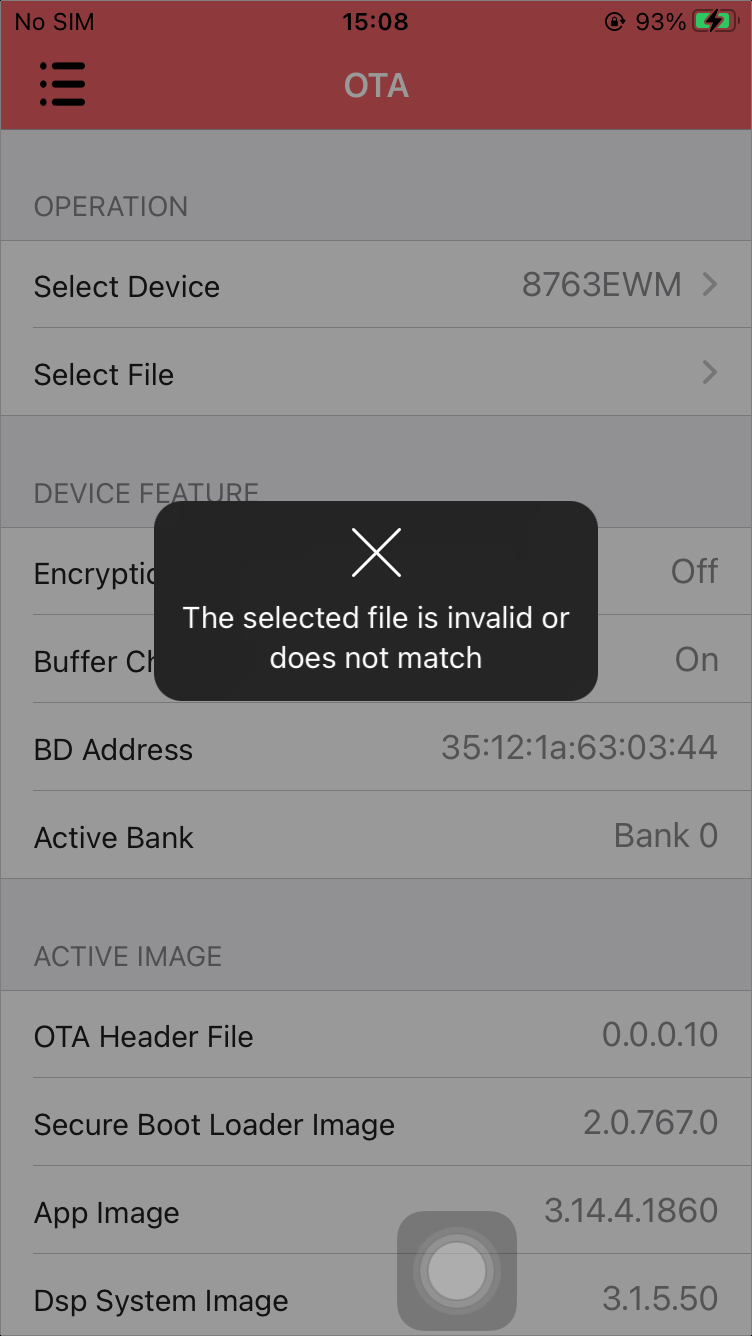
Incorrect File: An error message will appear, as shown in The Incorrect File.
Confirm Version: Low version files are not allowed. If users want to upgrade the same version file, can disable the CheckFileVersion in SETTINGS, which is enabled by default.
Confirm Type: Only the combine file can be upgraded for a RWS device, while a pack file or a single bin can be upgraded for a device which is not RWS.
Confirm Compatibility: The upgrade file must match the current device.
Click the Upgrade option. If the device supports both Normal and Silent modes, a dialog box will appear, allowing users to choose the upgrade mode. If not, the upgrade will proceed using the currently supported mode automatically.
Normal Mode: The device will transition into OTA mode, leading to a brief disconnection and reconnection between the APP and the device.
Silent Mode: The upgrade starts immediately without any interruption.
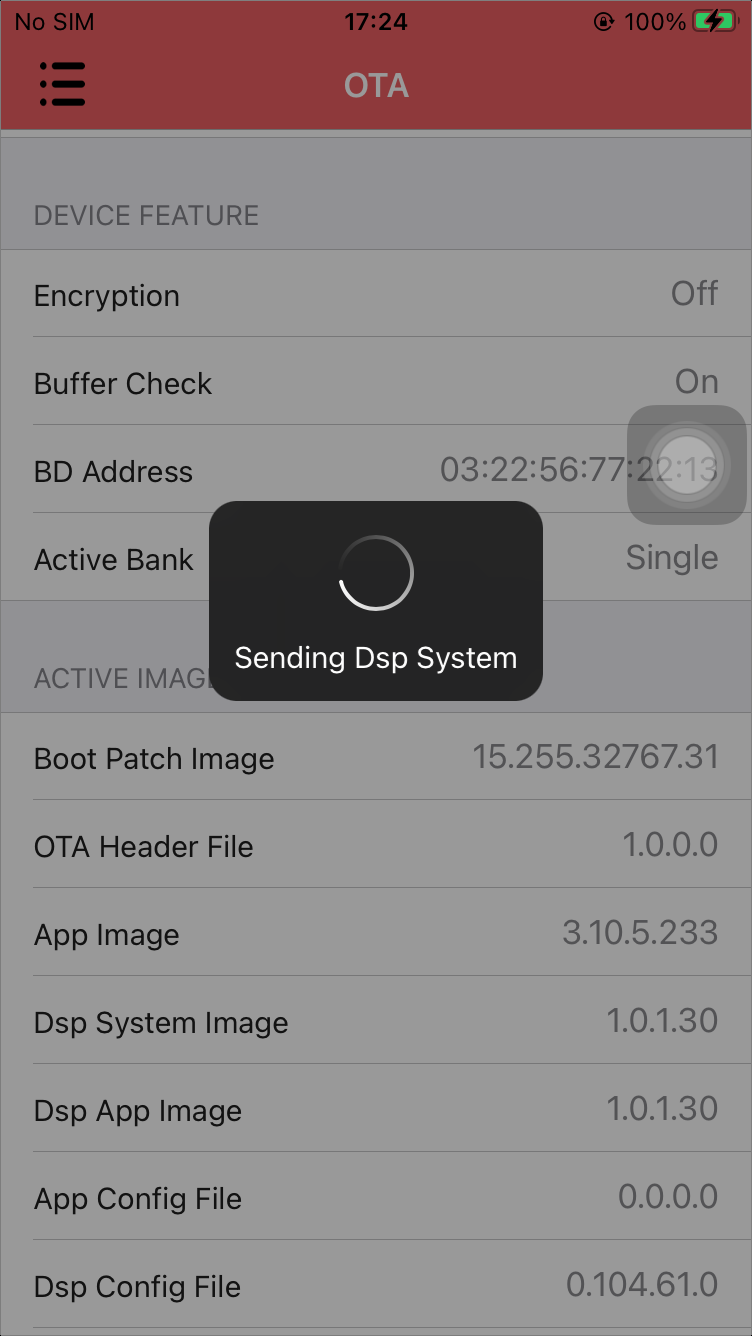
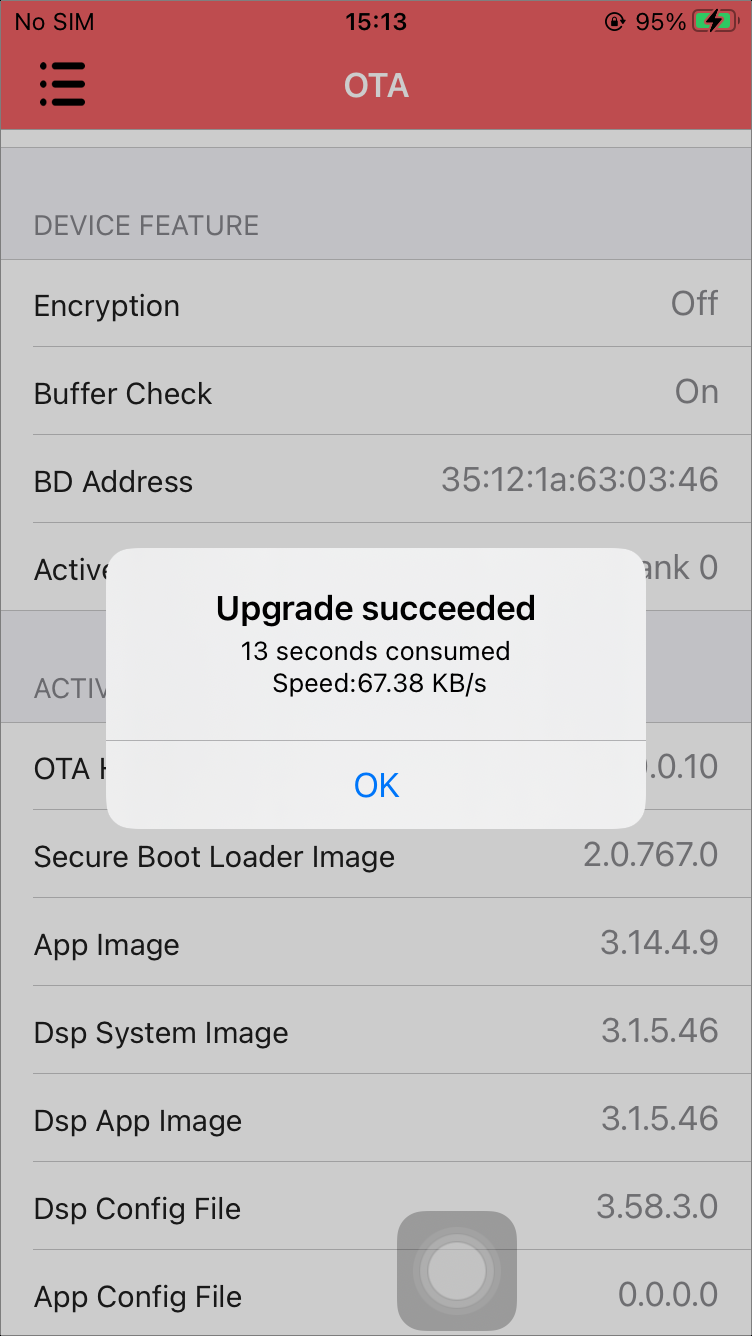
Once the upgrade starts, the progress and result will be displayed, as shown in Upgrading and Successful Upgrade.
The logs involved include three types: application logs, HCI logs, and crash logs.
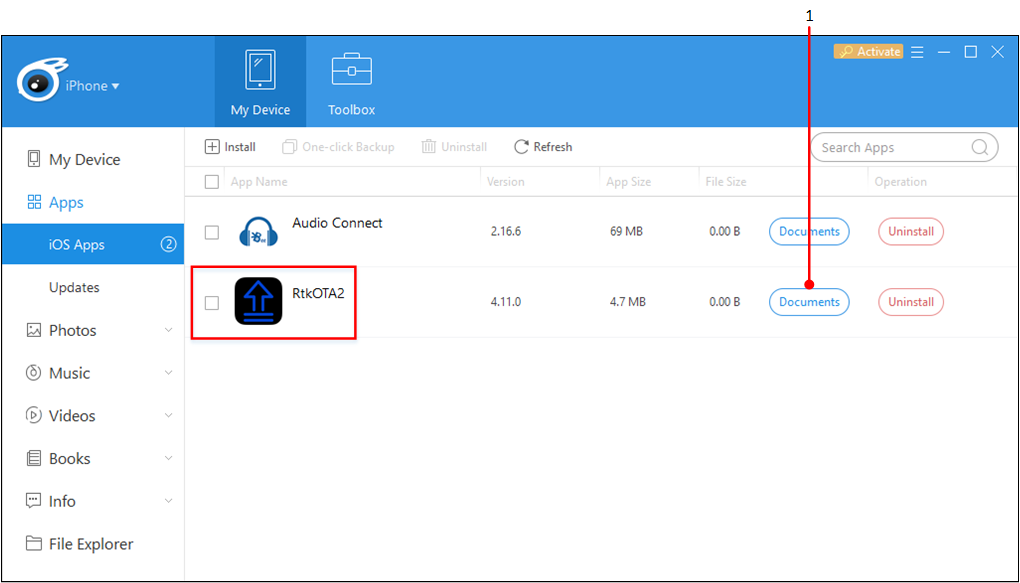
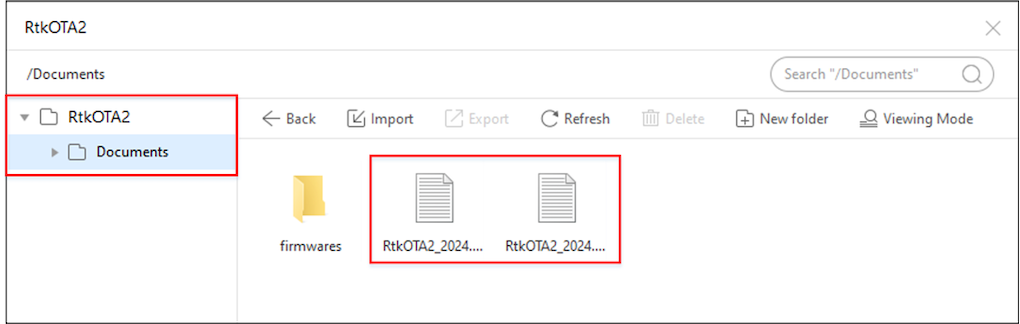
Application Logs: Focus on operations, interactions, flow, and other runtime information generated by the application. They provide broad insights into how an application functions during typical use. These logs with names similar to RtkOTA2_2024.06.06.log can be obtained using iTools, as shown in iTools UI and Log Path.
HCI Logs: Offer specific details about Bluetooth communication processes, helping to resolve connectivity and interoperability issues. Refer to Bluetooth_Logging_Instructions to capture these logs.
Crash Logs: Provide precise data regarding application failures, including stack traces and error codes, which are essential for fixing critical bugs that cause the application to crash. These logs can be accessed at Phone Settings ‣ Privacy & Security ‣ Analytics & Improvements ‣ Analytics Data.