The iAP defines the protocols and procedures that shall be used by devices to transmit data with iOS device.
The iAP demo project gives a simple example on how to use iAP. More knowledge about iAP Profile can
be found in iAP. The purpose of this document is to give an overview of the iAP demo application.
In order to interact with the application, users need to input commands through the UART
in the host terminal. For additional information regarding the UART connection, please refer to
UART in IO. To enter a command, you can use a Serial Port Assistant Tool
in the host terminal. Simply type the command in the tool and press Enter on your keyboad or
click Send to send it.
In order to process the iAP authentication procedure, the Apple Authentication 3.0 Coprocessor
must be correctly connected to the EVB board. The Apple Authentication 3.0 Coprocessor acts as a
I2C device, for additional information regarding the I2C, please refer to I2C in IO.
The TX and RX pin settings for the console are defined in the app_bt_iap_demo_main.c file.
It is important to note that the TX and RX pins need to be wired in reverse, which means that the TX
pin of console should be connected to P3_0, and the RX pin should be connected to P3_1 in order to
establish a connection with the serial port.
The SCL and SDA pin settings for I2C are defined in the app_bt_iap_demo_main.c file. The SCL pin of
the Apple Authentication 3.0 Coprocessor should be connected to P0_3, and the SDA pin of the Apple
Authentication 3.0 Coprocessor should be connected to P0_2.
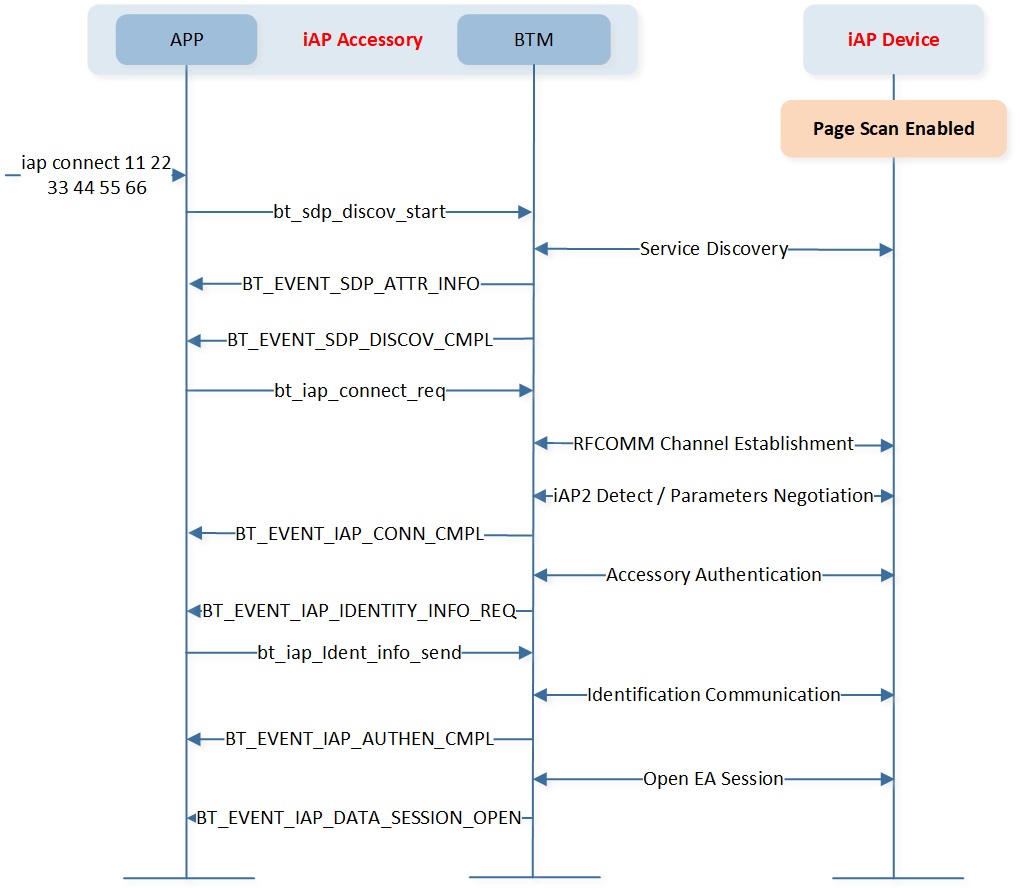
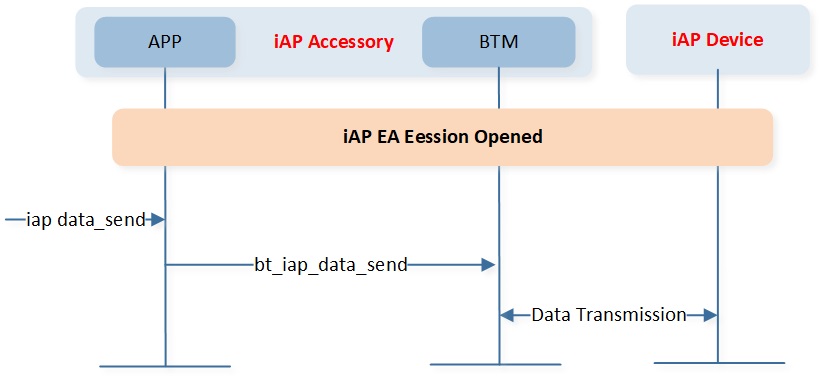
User can configure connection parameters by calling bt_iap_param_set(); if user not configure
connection parameters, default connection parameters will be used.
User must configure identification information correctly.
Remote device will require identification information when building iAP connection.
The application should reply identification information after receive BT_EVENT_IAP_IDENTITY_INFO_REQ.
The detailed information about Building and Downloading can be found in Building and Downloading.
This sample can be found under sdk\board\evb\bt_iap_demo in SDK folder structure.
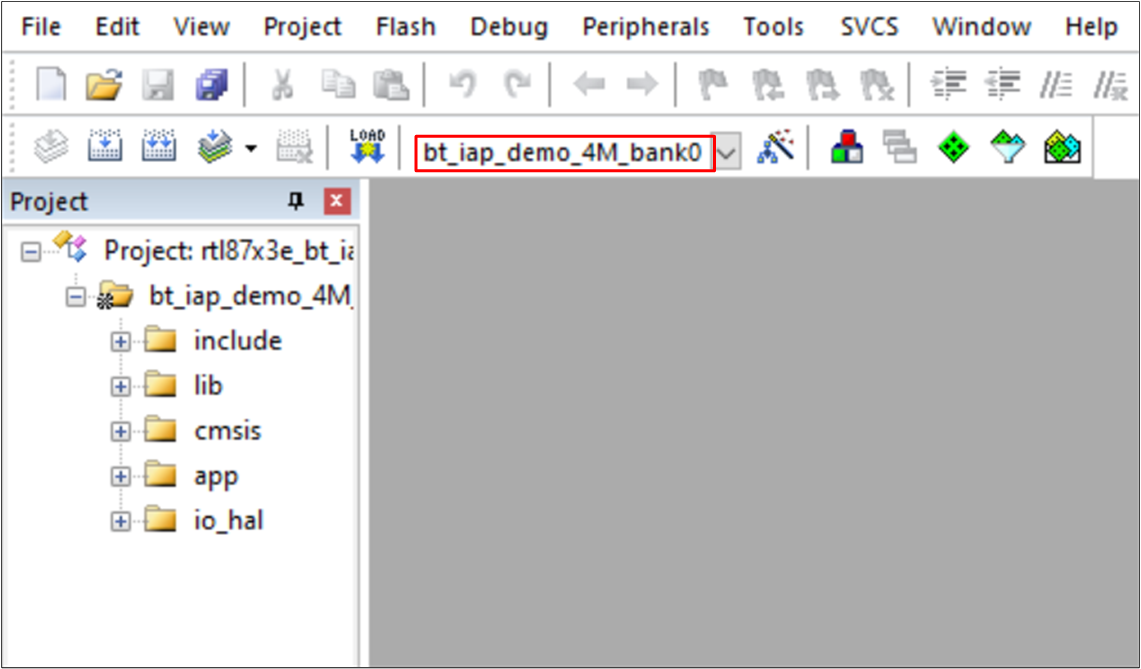
Take the project rtl87x3e_bt_iap_demo.uvprojx and target bt_iap_demo_4M_bank0 as an example,
to build and run the sample with Keil development environment, follow the steps listed below:
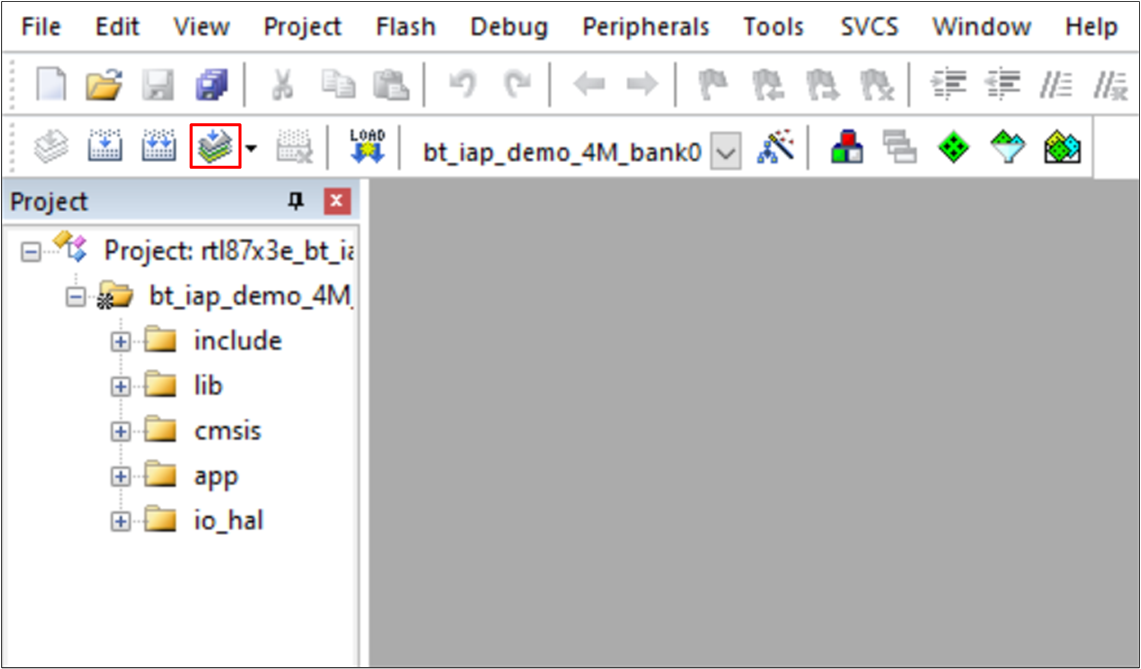
Building the target. After a successful compilation, the app bin file bt_iap_demo_bank0_MP-vxxx-xxx.bin
will be generated in the directory bin\rtl87x3e\flash_4M_dualbank\bank0.
This section provides a detailed description of the usage of user commands for the iAP demo.
The iAP demo requires inputting commands through the UART in the host terminal to perform interaction.
This allows various actions to be executed and the application to be controlled.
The flow of the iapconnect command is to connect iAP with remote device.
User can input command below to connect iAP. The address in the command is the remote bluetooth device.
The console will print iAPConnected! informing user that iAP is connected.
The default radio mode is BT_DEVICE_MODE_DISCOVERABLE_CONNECTABLE in this demo.
User can also connect the tested accessory in bluetooth setting Interface of remote device.
Source files in the sample project are currently categorized into several groups as below.
iAP demo sample project:
└── Project: bt_iap_demo_4M_bank0
    ├── include                         ROM UUID header files. Users do not need to modify it.
    ├── Lib                             Includes all binary symbol files that user application is built on.
    ├── cmsis                           The cmsis source code. Users do not need to modify it.
    └── APP                             The application source code.
        ├── app_bt_iap_demo_app.c
        ├── app_bt_iap_demo_console.c
        ├── app_bt_iap_demo_gap.c
        ├── app_bt_iap_demo_link.c
        ├── app_bt_iap_demo_main.c
        ├── app_bt_iap_demo_sdp.c
        ├── app_bt_iap_demo_task.c
        ├── app_console_msg.c
        ├── app_dlps.c
        ├── app_io_msg.c
        ├── console_uart.c